I’d bet good money that you don’t want to lose your hair.

You might talk a good game, saying that you’re going to rock the bald look.

You’ll be sexy like The Rock or Jason Statham, right?

Sure, and that’s why you’re peeking at an article about hair loss.
The 5 Best Ways to Fight Hair Loss

I won’t tell anyone.

I don’t want to lose my hair either.

Let me share my secrets for growing back hair. It’ll just take a couple of minutes to read them.

Then you decide what you’re going to do. Spend as much or as little as you want.

It all depends on why you’re losing your hair.

The number one reason why hair stops growing and falls out

The most common reason people go bald is their genes.

If it runs in the family, you’re probably doomed.

Unless, of course, you start fighting now.

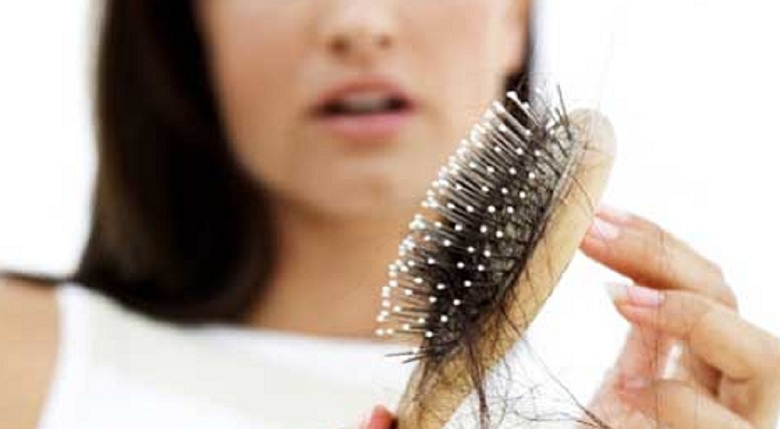
It’s normal to lose up to a hundred hairs per day. But if you see a receding hairline or thinning patches, there’s no time to waste (1).

Step one: Topical treatment

The number one recommendation for patients dealing with genetic hair loss is to treat it with minoxidil.

You might recognize it by its brand name, Rogaine.

There are different versions for men and women.

Plus, you can choose between a foam or a liquid that you apply to your scalp once a day.

There are few side effects, and it’s clinically proven to work. It prevents hair follicles from shrinking and failing.

Moreover, it’s cheap, and even generic versions work well.

Minoxidil is one of the best hair growth products for men.

The con is that once you stop using it, the problem returns.
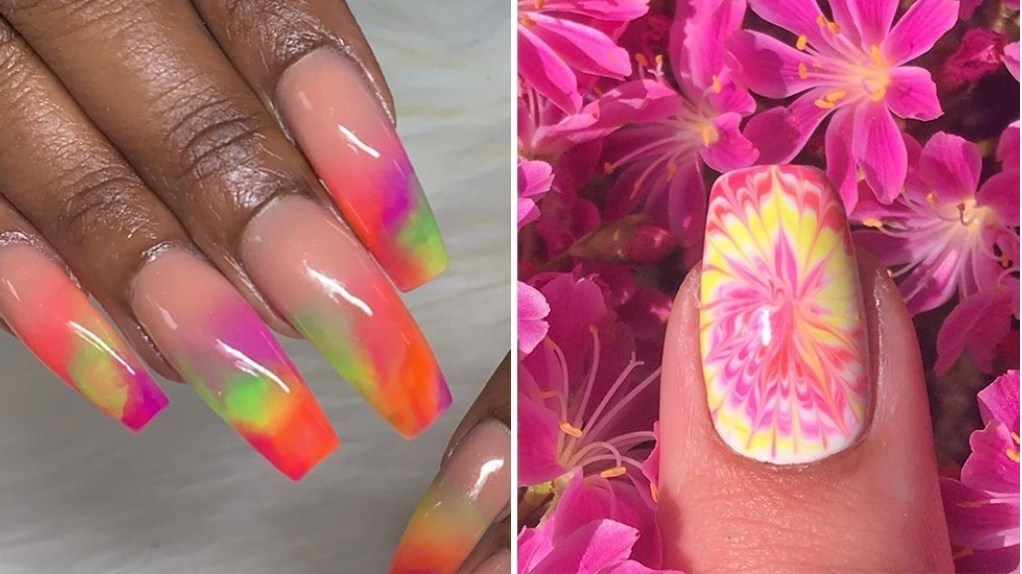
There is no need for you to go back in time just to experience the summer camp vibes again where you can wear that old colourful camp T-shirt, you can now wear that art in your nails. Yes, you read it right! You can now sport that kaleidoscope inspired nail art via the tie-dye nail design trend. This design that has been popularized in the 70’s has taken the Instagram by storm. Fingertips and social media post using the theme “tie-dye nail art” has been increasing at an alarming rate. Not only that, the arts-and-crafts pattern is also having a moment in the fashion limelight as many known personalities are seen donning the look. What makes the look an instant favourite? Well for one, it is easy to do and there is no extreme precision required. Anyone can do it, even you and here are some basic designs to get you started:

tie dye nail design

1. The Sky Is On My Finger

Gazing at the sky while lying on the beach shore is very relaxing but you can’t always be on the beach every time. Your fingertips can help you live that vibe with this tie-dye design. Using LDS D10 Lavender Ballad, LDS D88 Powder blue and LDS D27 Blue or Green, you can have the summer feel in your fingernails without visiting the beach.

Nothing makes a woman feel good and sophisticated than having a freshly manicured and pedicured nails. It gives a woman a pulled-together head-to-toe feeling. Aside from their hair, a woman’s beautifully painted nails is also their crowning glory but did you know that its only takes one chipped paint job to ruin that feeling especially if they do most of the things around the house. Here are some tips to make your coloured nails go the extra mile:

Get Longer and Stronger Looking Nails

  1. Buy Your Own Polish

We all know that if you are getting your nails done at the salon, you will be overwhelmed with the gargantuan rainbow polish options. But the problem with that is you have no idea how long that bottle has been in their collection unlike if it’s your own. It is a fact that as nail polishes ages, it will no longer apply as smoothly as a new one and it chips easily. Some salon goes to extent of adding a few drops of acetone or another thinning agent to extend the amount of pigment and get more use out of them. But that technique is the reason why most nails chipped off easily. So coming armed with your own nail color is always a good idea. Plus, if you get a nick, you can easily fix it at home.  You can order ahead of time from nail supply online so you can bring your own when you visit the salon.

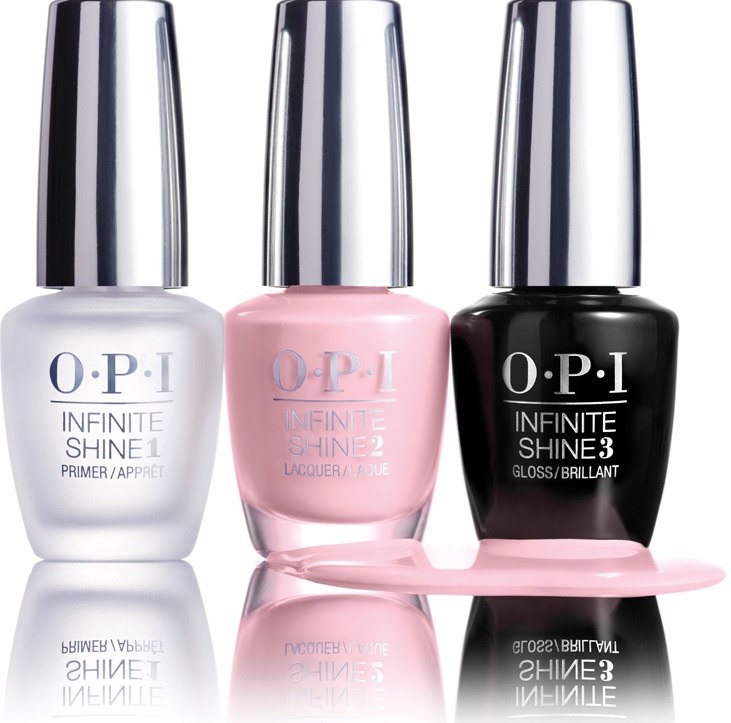
OPI gel polish is the kind that can be used by everyone for a perfect looking finish. It immensely works well for those with a busy timetable because its application takes less time compared to the other type of polishes. This simply means that you can apply it wherever and whenever you want. For you to do this, however, you need to be aware of how to apply OPI gel polish. In this article, we will acquaint you with everything revolving around the application of the OPI gel polish.

Nail Prepping

Prepping the nails is the initial step to achieving a perfect OPI gel manicure. This is done because the process can only work well on dry and clean nails. When you are done the cleaning, follow it with a layer of OPI PH balancing agent that allows drying of the excess moisture from the nails. You might think that this step is not important but it is the main reason as to why the gel adheres to your nails. Note that skipping this step will make your nails only last for a week and not 2 or 3 weeks as it is supposed to last.

OPI Gel

Initial Base

The OPI base coat should be applied in form of a thin layer. However, avoid applying too much of it because it would form a very thick layer that bumps off when the gel is exposed to the heat from the lamp. Peeling off will then occur and you will be left with an ugly looking polish. Make sure that you apply a similar amount to that of the usual polish. On the nail top, make sure that you apply another base layer to seal it. When you are done, pop in the fingers into the lamp so that they can dry up. The lamp will automatically switch off when the process is complete. Make sure that you do each of the thumbs separately when you are done with the other fingers.